What Makes Sit to Stand Desks the Perfect Choice for Modern Workspaces?
Creating a healthier, more productive workspace begins with the right desk. That’s why sit to stand desks have quickly become the go-to product for anyone looking to enhance comfort, focus, and movement throughout the workday. Whether you’re setting up a home office or upgrading a corporate workspace, electric standing desks are designed to improve posture, reduce strain, and support your body in both sitting and standing positions.
Let’s explore why these adjustable desks are transforming the way professionals work, the features that set the best standing desks apart, and why Lilipad leads the way with its innovative foldable design, free shipping, and unmatched build quality.
The Evolution of Sit to Stand Desks: Why Movement Matters
The standard office desk once symbolized long hours of sitting and minimal movement. Today, the rise of sit stand setups and height adjustable designs offers a healthier, more active approach.
Why People Are Switching to Sit Stand Desks
Modern stand desks are designed to promote better posture and overall healthier working habits. By alternating between sitting and standing, users can reduce stiffness, stretch muscles, and maintain energy levels throughout the day. Sit stand desks help reduce lower back strain and even improve productivity and focus.
They’re ideal for office setups, gaming stations, or corner workspaces where flexibility and ergonomic balance are priorities. With smooth height settings, even quick adjustments can transform how you feel and perform during your daily routine.
Movement and Comfort
A height adjustable standing desk isn’t just a piece of furniture. It’s an investment in your long-term comfort. Unlike fixed surfaces, height-adjustable options allow you to create a more dynamic workspace. This promotes active working and helps integrate stretch breaks naturally into your schedule.
Key Features That Define Modern Adjustable Standing Desks
When choosing among the many adjustable standing desks available online, you’ll find that quality, design, and functionality all play critical roles.
Smooth Electric Adjustment and Dual Motor Power
The best electric desks include dual-motor systems that allow quiet, quick, and stable height transitions. This ensures your monitor, keyboard, and accessories remain steady, even at the highest standup desk position.
Strong Construction and Durable Materials
High-quality steel frames and sturdy construction are essential for long-lasting use. A durable ergonomic standing desk should support multiple desktops or screens without wobbling. Look for products built with sustainable materials that match your style—from bamboo to laminate surfaces.
Cable Management and Clean Design
A modern workspace should look clean and organized. That’s why adjustable standing desks often feature built-in cable management systems, keeping cords out of sight and ensuring a professional setup. This not only looks great but helps improve concentration and workflow.
Ergonomic Surface and Monitor Positioning
Ergonomic design ensures your screen and keyboard align properly, reducing neck and wrist strain. Sit-stand desks offer customizable height ranges to fit your exact position—so you can maintain ideal alignment, whether sitting or standing.
Types and Options to Fit Every Workspace
From compact models to L-shaped configurations, there’s a sit stand desk for every space and working style.
L-Shaped and Corner Designs
For users needing extra surface area, L-shaped desks or corner setups are perfect for multitasking. These desks designed for professional environments allow dual monitors, accessories, and paperwork to all fit comfortably.
Compact and Standard Configurations
If you’re limited on space, a smaller adjustable sit stand desk can be ideal. It maintains ergonomic benefits while fitting neatly into your home office. Larger standard or dual-motor versions suit professional offices, offering more range and spacious layouts.
Height Adjustable and Foldable Options
Height adjustable standing desks come in electric or manual types, with height-adjustable ranges that adapt to your needs. Some even fold for easy storage, making them great for modern apartments or flexible workspaces.
Gaming and Professional Setups
For gamers and creatives, stand desks help increase focus and reduce stiffness during long sessions. Combine with an ergonomic chair or monitor mount to create a balanced, productive station.
Ergonomics and Productivity
A sit stand desk does more than improve posture, it helps you work smarter.
Improved Health and Reduced Fatigue
Switching between sitting and standing encourages blood flow, reducing fatigue from long hours at your desk. Studies show that standing desks are perfect for lowering discomfort, keeping the body active, and maintaining mental clarity.
Better Focus and Professional Comfort
An ergonomic standing desk supports long-term focus. By adjusting height settings to match your natural position, your workspace becomes an extension of your body reducing the need to hunch or strain.
Integrate Accessories for a Complete Setup
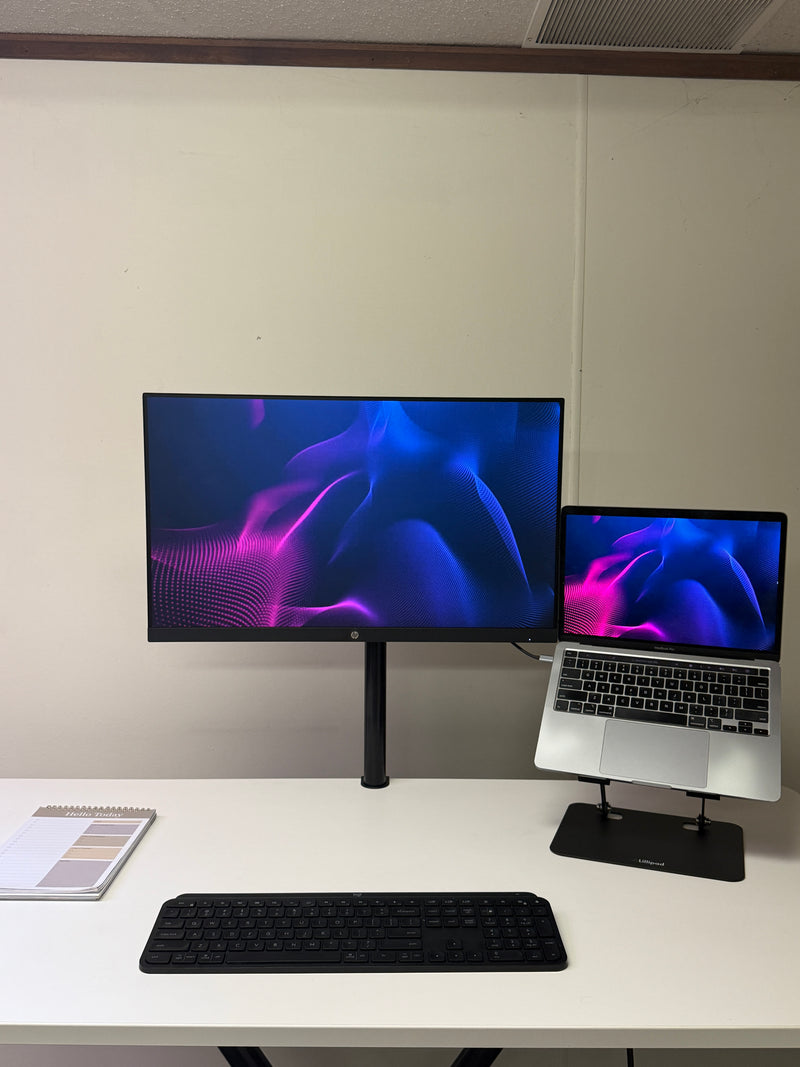
Enhance your office setup with accessories like monitor arms, anti-fatigue mats, or storage trays. These add-ons integrate seamlessly into most adjustable standing desks, giving you more control and comfort.
Built for Modern Living
Today’s height adjustable standing desks combine sleek design with practical functionality. Whether you prefer a minimal style or a professional setup, these desks designed for movement support your daily routine without compromise.
Upgrade to Lilipad! Your The Ultimate Sit to Stand Desk Experience
If you’re searching for the modern best standing desk that redefines convenience, look no further than Lilipad.
Innovation Meets Flexibility
Lilipad supports sitting, floor sitting, and standing—giving your body the freedom to move naturally. Its patented X-frame allows smooth transitions from 6″ to 48″, creating a truly height adjustable experience. This isn’t just another electric standing desk—it’s the only foldable electric desk that requires no assembly and saves space effortlessly.
Premium Quality and Construction
Built in Milwaukee, Wisconsin, Lilipad features high-quality steel and industrial-grade construction for lasting durability. Every product is sturdy, spacious, and ergonomic—crafted for both professional and home office use.
Free Shipping and Fast Delivery
Lilipad offers FREE shipping (a $125 savings) and ships in-stock desks fully assembled within 3 business days. Each desk arrives ready to use—no complicated setup required.
Confidence Guaranteed
Enjoy a 60-day money-back guarantee and a 5-year warranty covering the motor, frame, and electronics. Every height-adjustable model is made to last and backed by our confidence in quality craftsmanship.
Limited Availability – Order Yours Now
Due to high demand, orders are fulfilled on a first-come, first-served basis. Experience Lilipad’s ergonomic standing desk that blends sustainable design, modern comfort, and unmatched convenience. Have questions or want to learn more about pricing and availability? Call or text (312) 834-7750 or visit our website to explore your options.

Lillipad
(312) 834-7750
https://www.lillipad.com/
